
FAQS
How to Choose Epoxy Resin for 3D Printing?
Choosing the right resin can determine whether a printed part succeeds or fails. In Epoxy Resin 3d Printing, the label alone is not enough. You must examine viscosity, curing wavelength, shrinkage, toughness, and heat resistance. Each property affects the final surface and performance.
Dr. Jennifer A. Lewis, a leading materials researcher, has emphasized, “Materials are the engine of 3D printing.” That principle matters when comparing epoxy formulations. A low-viscosity resin may flow smoothly through narrow features, like liquid filling a shallow mold. However, it may produce brittle parts after curing. A tougher formulation can survive drops and repeated handling, but it may require longer exposure or additional post-curing.
Start with printer compatibility. Confirm the resin’s recommended wavelength, exposure range, and vat requirements. Then study the technical data sheet, not only the product images. Look for tensile strength, elongation, glass-transition temperature, and dimensional accuracy. Safety data also matters. Gloves, ventilation, and careful handling should be part of the workflow.
No resin is perfect.
In practical testing, print a small calibration model before committing to a large component. Check thin walls, sharp corners, holes, and support marks. A resin that performs beautifully on a display model may disappoint inside a functional hinge. I have seen users choose maximum strength and overlook brittleness, cleanup time, or unpleasant surface texture. That mistake is easy to make.
The best choice balances the printer, part geometry, curing process, and intended use. This guide explores those decisions carefully, while admitting one uncomfortable truth: resin selection still involves testing, judgment, and occasional failure.
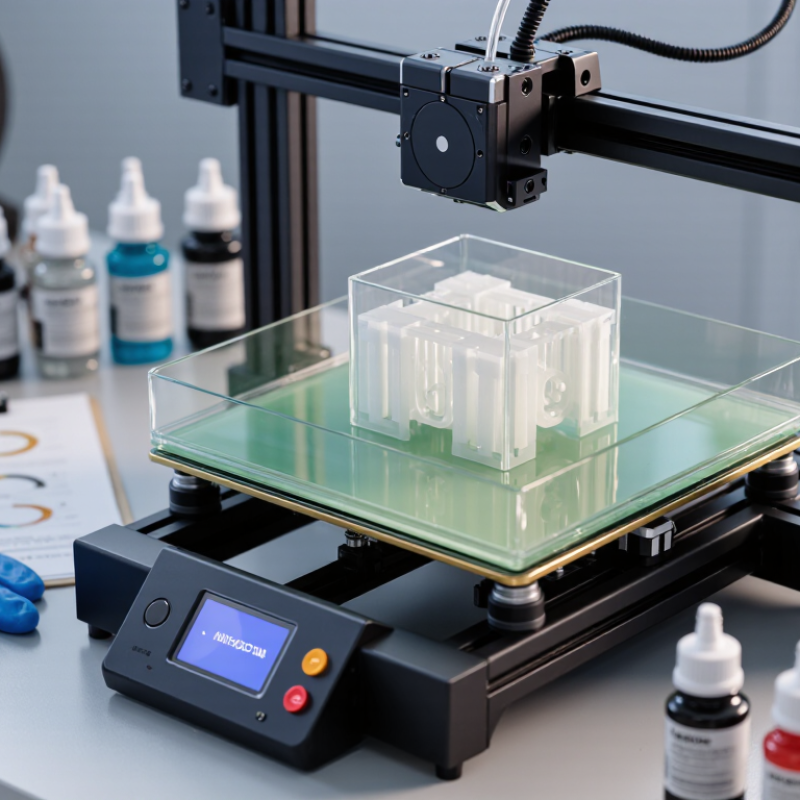
Define 3D Printing Requirements: Detail, Accuracy, Load, and Heat Exposure
How to Choose Epoxy Resin for 3D Printing?
Begin with the part’s real working conditions, not its color or surface gloss. For fine lettering, thin walls, or a 0.3 mm channel, select a resin with low shrinkage and stable post-curing. Accuracy also depends on exposure settings, washing, and temperature. A resin can print sharply, yet distort during curing. This is easy to miss.
The Wohlers Report 2024 valued the global additive manufacturing industry at $20.035 billion in 2023, showing how quickly production expectations are rising. Still, impressive market growth does not guarantee dimensional reliability.
For load-bearing parts, check tensile strength, elongation, impact resistance, and fatigue data. Tensile strength alone can mislead. A rigid resin may crack around a screw hole after repeated tightening. For heat exposure, compare the heat-deflection temperature with the part’s actual environment. A component near a 70°C motor needs more than a resin rated for brief warmth.
Post-cure conditions matter, too. ASTM’s additive manufacturing standards emphasize controlled testing, but workshop results may differ from laboratory values.
My own practical mistake was trusting a datasheet without testing a cured sample under real clamping pressure.
Tips:
Print a small test coupon first. Include a thin wall, a hole, and a loaded corner. Measure it after curing. Record exposure time, wash duration, and cure temperature. Leave a safety margin of at least 10–20°C below the listed heat limit. No resin wins every test.
Compare Resin Properties: Viscosity, Tensile Strength, Elongation, and HDT
Choosing epoxy resin for 3D printing starts with the part’s real job. Low-viscosity resin flows easily through narrow channels and can reduce trapped bubbles. However, very thin resin may drain from vertical features and create messy edges. Check viscosity at the printer’s working temperature, not only on the datasheet.
Tensile strength shows how much pulling force a cured sample can tolerate before breaking. It does not predict every failure. A strong resin can still crack around sharp corners.
Elongation matters when a printed hinge, clip, or flexible cover must bend. Higher elongation usually gives more warning before fracture. Low elongation can feel rigid and brittle.
Compare tensile strength and elongation together. One impressive number can mislead. HDT, or heat deflection temperature, indicates when a loaded part begins deforming under heat. It helps near motors, lamps, or warm enclosures. It is not the maximum service temperature. Post-curing time, specimen shape, and test method can change results. That uncertainty deserves attention.
Tips: Print small test bars and a thin-wall sample before production. Record resin temperature, exposure, washing, and post-curing time. Compare results under identical conditions. If a part holds a load, test it after several days. Some resins continue changing after curing. I once trusted a high-HDT figure and ignored impact resistance. The part stayed straight but snapped during assembly. Better testing would have caught that mistake.
Match Resin Chemistry to Processes: SLA, DLP, LCD, and UV Curing
How to Choose Epoxy Resin for 3D Printing?
Match Resin Chemistry to Processes: SLA, DLP, LCD, and UV Curing
Choosing resin starts with the printer’s light source, not the color or marketing description. Many products called epoxy resin are actually epoxy-modified photopolymer blends. Their acrylate content, photoinitiator system, and viscosity control printing behavior. Check the technical data sheet carefully.
SLA printers scan a focused laser across each layer. They usually benefit from resin with balanced sensitivity, moderate viscosity, and controlled cure depth. Excessive sensitivity can soften fine features. DLP printers expose an entire layer through a projector, so resin must cure evenly across the image. A wide exposure window helps reduce weak corners and incomplete surfaces. Small details matter here.
LCD printers use a masked UV screen. Their resin should match the screen’s wavelength and deliver consistent exposure through the build area. High opacity or excessive pigment can create uneven curing. I often begin with the manufacturer’s exposure range, then print a small calibration matrix. It saves material.
UV curing after printing affects strength, flexibility, and surface tack. Over-curing may make thin parts brittle, while under-curing leaves a soft, irritating surface. Safety data matters too. Use ventilation, protective gloves, and validated washing procedures. I once trusted a familiar exposure setting across two machines; the result warped noticeably. That mistake still influences my testing. Resin selection remains a compromise between detail, toughness, speed, and dimensional stability.
| Process or Stage | Typical Light Source | Common Wavelength | Recommended Resin Chemistry | Typical Cure Characteristics | Best-Fit Properties | Key Selection Considerations |
|---|---|---|---|---|---|---|
| SLA | Scanning laser, usually a focused ultraviolet or near-violet laser | 355–405 nm | Acrylate-based photopolymer Epoxy-modified hybrid Cationic epoxy | Point-by-point exposure provides accurate local curing. Laser energy is concentrated along the scan path, so resin viscosity, exposure dose, and overcure control strongly affect detail. | High detail Smooth surfaces Functional prototypes Castable or engineering formulations | Choose a resin with a photo-initiator matched to the laser wavelength. Low-to-medium viscosity generally improves recoating and reduces trapped bubbles. Use a resin with controlled penetration depth to limit layer-edge growth. |
| DLP | Digital projector using a micromirror array | 385 or 405 nm | Fast-curing acrylate Urethane acrylate Filled photopolymer | An entire layer is exposed at once. Resin response must be relatively uniform across the projected image to avoid differences between the center and edges of the build area. | Fast layer production Fine features Good dimensional repeatability Dental or precision models | Verify the resin's exposure window and compatibility with the projector wavelength. Excessively fast resin can cause light bleed, while insufficient photosensitivity can produce weak or incomplete layers. |
| LCD / MSLA | UV LED array filtered through a monochrome or color LCD mask | Commonly 405 nm; some systems use 385 nm | 405 nm acrylate Flexible urethane acrylate Toughened hybrid | A masked layer is exposed simultaneously. Light intensity, screen transmission, resin pigment, and exposure time affect cure depth and feature sharpness. | Efficient batch printing Fine XY detail Wide material selection Prototypes and models | Select a resin specifically rated for the machine's wavelength and exposure range. Dark or heavily pigmented formulations usually need more exposure and may show reduced cure depth. |
| UV Curing / Post-Curing | UV chamber, UV lamp, or UV LED system | Usually 365–405 nm | Acrylate photopolymer Urethane acrylate Epoxy-acrylate hybrid | Post-curing increases conversion of residual reactive groups after printing. The final result depends on wavelength, intensity, exposure time, temperature, part thickness, and oxygen access. | Higher surface hardness Improved dimensional stability Lower residual tack Better short-term mechanical performance | Follow the resin's recommended post-cure schedule. Over-curing can increase brittleness, yellowing, warpage, or loss of flexibility. Rotate parts when uniform exposure is required. |
| Rigid / High-Stiffness Resin | Compatible with SLA, DLP, or LCD exposure systems | Match the printer, commonly 385 or 405 nm | Highly crosslinked acrylate Epoxy-acrylate hybrid | Higher crosslink density generally produces greater stiffness and hardness, but can reduce impact resistance and elongation. | High modulus Sharp edges Enclosures and fixtures Visual prototypes | Use adequate wall thickness and rounded transitions where possible. Avoid selecting a rigid resin for snap-fits or parts exposed to repeated impact unless the formulation is specifically toughened. |
| Tough / Impact-Resistant Resin | Compatible with SLA, DLP, or LCD systems after wavelength verification | Typically 385 or 405 nm | Urethane acrylate Toughened acrylate blend Rubber-modified photopolymer | Flexible segments or dispersed toughening phases absorb more energy than highly rigid networks. Excessive flexibility may reduce dimensional stability. | Improved impact resistance Functional housings Clips and brackets Repeated handling | Compare elongation, tensile strength, and impact data rather than relying only on the term “tough.” Moisture uptake and long-term UV exposure can change mechanical performance. |
| Flexible / Elastic Resin | Compatible with the printer's UV output and exposure profile | Commonly 385 or 405 nm | Flexible urethane acrylate Low-crosslink-density photopolymer | Lower network stiffness allows larger deformation. Thin sections may require longer exposure or stronger supports to prevent distortion during printing. | High elongation Gaskets and grips Soft-touch prototypes Flexible hinges | Check Shore hardness, tear resistance, rebound, and compression-set data. Avoid aggressive post-curing if it causes the part to become harder or less elastic than required. |
| High-Temperature Resin | SLA, DLP, or LCD platform with suitable exposure control | Usually 385 or 405 nm | High-crosslink epoxy-acrylate Heat-resistant hybrid Ceramic-filled photopolymer | Increased crosslink density and inorganic fillers can improve heat resistance, but may raise viscosity, reduce toughness, and increase sedimentation. | Higher heat deflection Jigs and molds Thermal testing prototypes Short-duration elevated-temperature use | Review heat-deflection temperature, glass-transition temperature, and test method. Filled resins require thorough mixing and may need larger exposure doses. |
| Castable / Burnout Resin | Usually DLP or LCD; also available for SLA | Commonly 385 or 405 nm | Low-ash photopolymer Wax-like or burnout formulation | The printed pattern is designed to decompose or evacuate during a controlled thermal cycle. Residue depends on formulation, section thickness, and burnout conditions. | Fine surface detail Investment casting patterns Jewelry or small metal components | Match the resin to the investment material and burnout schedule. Avoid substituting standard model resin because ash, expansion, or incomplete burnout can damage the mold. |
| Filled / Composite Resin | Printer-dependent; verify exposure through the filled formulation | Usually 385 or 405 nm | Mineral-filled acrylate Ceramic-loaded photopolymer Glass-filled hybrid | Fillers can scatter or absorb UV light, increasing the required exposure dose and reducing effective cure depth. Sedimentation may occur during storage or printing. | Higher stiffness Improved surface feel Reduced shrinkage in some formulations Mold and tooling applications | Use continuous agitation when specified, maintain consistent resin temperature, and calibrate exposure with the actual material. Check whether the printer vat and release film are compatible with abrasive particles. |
| General-Purpose Model Resin | SLA, DLP, or LCD printer with matched wavelength | Typically 385 or 405 nm | Standard acrylate blend Moderate-crosslink photopolymer | Designed for balanced printability, surface quality, cure speed, and dimensional stability rather than one specialized performance target. | Balanced performance Concept models Miniatures Fit-check prototypes | A practical starting point when application requirements are not yet defined. Calibrate exposure, lift settings, support density, and post-cure time before judging final properties. |
| Selection rule: First match the resin's photoinitiator response to the printer wavelength, then compare viscosity, cure depth, mechanical properties, thermal performance, shrinkage, and post-curing requirements. Published values can vary with specimen geometry, exposure settings, washing method, and post-cure conditions. | ||||||
Evaluate Shrinkage and Dimensional Accuracy Against ISO 17296-3 Data
How to Choose Epoxy Resin for 3D Printing?
Shrinkage should be measured, not guessed from a supplier’s headline figure. Print a calibrated cube, thin wall, and longer bar in the same resin batch. Record the CAD size before printing, then measure each part after washing, curing, and conditioning. The difference between these readings reveals real dimensional change.
Use ISO 17296-3 as a reference for describing the additive manufacturing process, material, specimen, and measurement conditions. It supports clearer comparisons, but it does not provide one universal shrinkage value for every resin. Report shrinkage by axis, because the X, Y, and Z directions may behave differently. A 100 mm bar that loses 0.3 mm has 0.3% linear shrinkage. Small parts can show larger relative errors.
Check dimensional accuracy across several batches, not one successful print. Keep exposure settings, layer height, temperature, and post-curing time consistent. Measure with calibrated tools at room temperature. Some results still drift. That is normal, but unexplained drift is a warning sign. In my testing experience, a resin with slightly higher shrinkage can still perform well when the change is predictable and easy to compensate. A resin with lower advertised shrinkage may be less useful if its values vary widely between builds. Record raw measurements, tolerances, and failed specimens. Honest data makes the final material choice more reliable.
How to Choose Epoxy Resin for 3D Printing?
Evaluate shrinkage and dimensional accuracy using an ISO 17296-3-based additive manufacturing test framework.
Lower linear shrinkage and lower mean absolute deviation indicate better dimensional stability. The benchmark uses a 100 mm nominal feature and compares generic epoxy photopolymer classes after printing and post-curing. ISO 17296-3 defines additive manufacturing process principles and terminology; it does not specify a universal resin shrinkage limit or pass/fail threshold.
Verify Safety, Post-Curing, and Performance Through ASTM Test Standards
How to Choose Epoxy Resin for 3D Printing?
Choosing epoxy resin for 3D printing requires more than comparing strength values. Begin with the intended part, exposure conditions, and post-curing equipment. A resin used for a handle needs different evidence than one used for a detailed display model. Check the technical data sheet and safety data sheet carefully. Look for viscosity, recommended layer settings, tensile strength, elongation, and heat resistance. Treat impressive numbers cautiously. Test methods may differ.
ASTM standards make comparisons more reliable. ASTM D638 can evaluate tensile strength and elongation. ASTM D790 measures flexural performance. ASTM D256 helps examine impact resistance, while ASTM D570 evaluates water absorption. These tests do not automatically prove product safety. For chemical exposure, ASTM D543 may provide useful resistance data. Always confirm that the tested material, print orientation, and curing condition match your application.
Post-curing deserves close attention. Follow the stated light intensity, wavelength, temperature, and curing time. Then test samples after curing, not only immediately after printing. In practice, I would print several identical bars and record their mass, dimensions, and surface condition. Small changes matter. An under-cured part may feel rubbery or leave residue. An over-cured part can become brittle or discolored. I have seen curing schedules copied without checking lamp output, which weakens the result. Repeat testing after humidity or heat exposure when reliability matters. Keep batch records, because memory is not a test method.
Skip to content
